How to re-cover a car roof yourself
The problem of a sagging headliner in car interiors is very common in Cyprus: high temperatures cause the adhesive to dry out, and the headliner starts to sag from the ceiling. We decided to save money on having the headliner reupholstered and do it ourselves. So, we had two tins of adhesive, a roll of […]
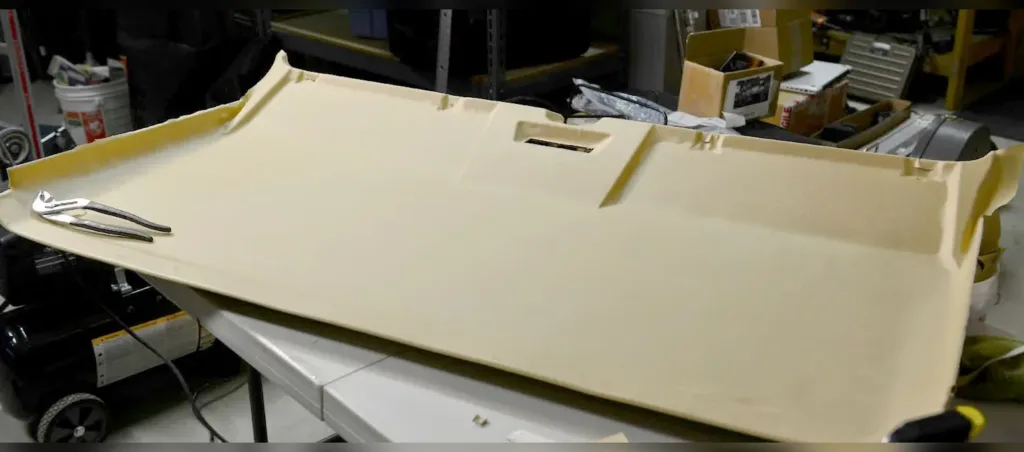
The problem of a sagging headliner in car interiors is very common in Cyprus: high temperatures cause the adhesive to dry out, and the headliner starts to sag from the ceiling. We decided to save money on having the headliner reupholstered and do it ourselves. So, we had two tins of adhesive, a roll of fabric and a free weekend…
The result was a refurbished car interior and this step-by-step guide.
How do you remove the headliner yourself?
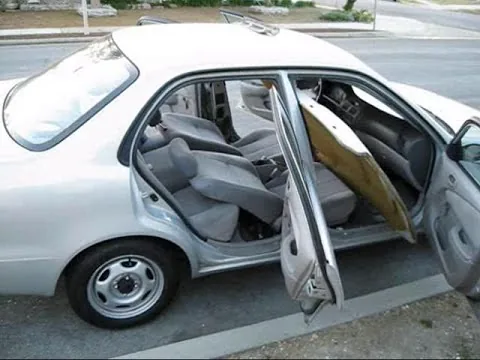 To remove the car’s headliner, you need to unscrew all the handles and visors and remove all the light fittings (you can simply pry them loose with a flat-bladed screwdriver). The side pillars also need to be removed. They’re held in place by clips, so there’s no need to make any sudden movements to detach them – simply pull them towards you.
After that, the headliner can easily be removed through the fifth door. If you don’t have a fifth door, the headliner can be removed via the front door. The main thing is to do this carefully so as not to dent it. We were lucky – we have an estate car, so removing it was very straightforward.
What’s important to remember?
It’s best to lay out all the screws and self-tapping screws around the car’s interior (on the door panels) so that when you’re reattaching the roof, they’re within easy reach and convenient to use.
Cleaning the headliner of old upholstery and adhesive residue
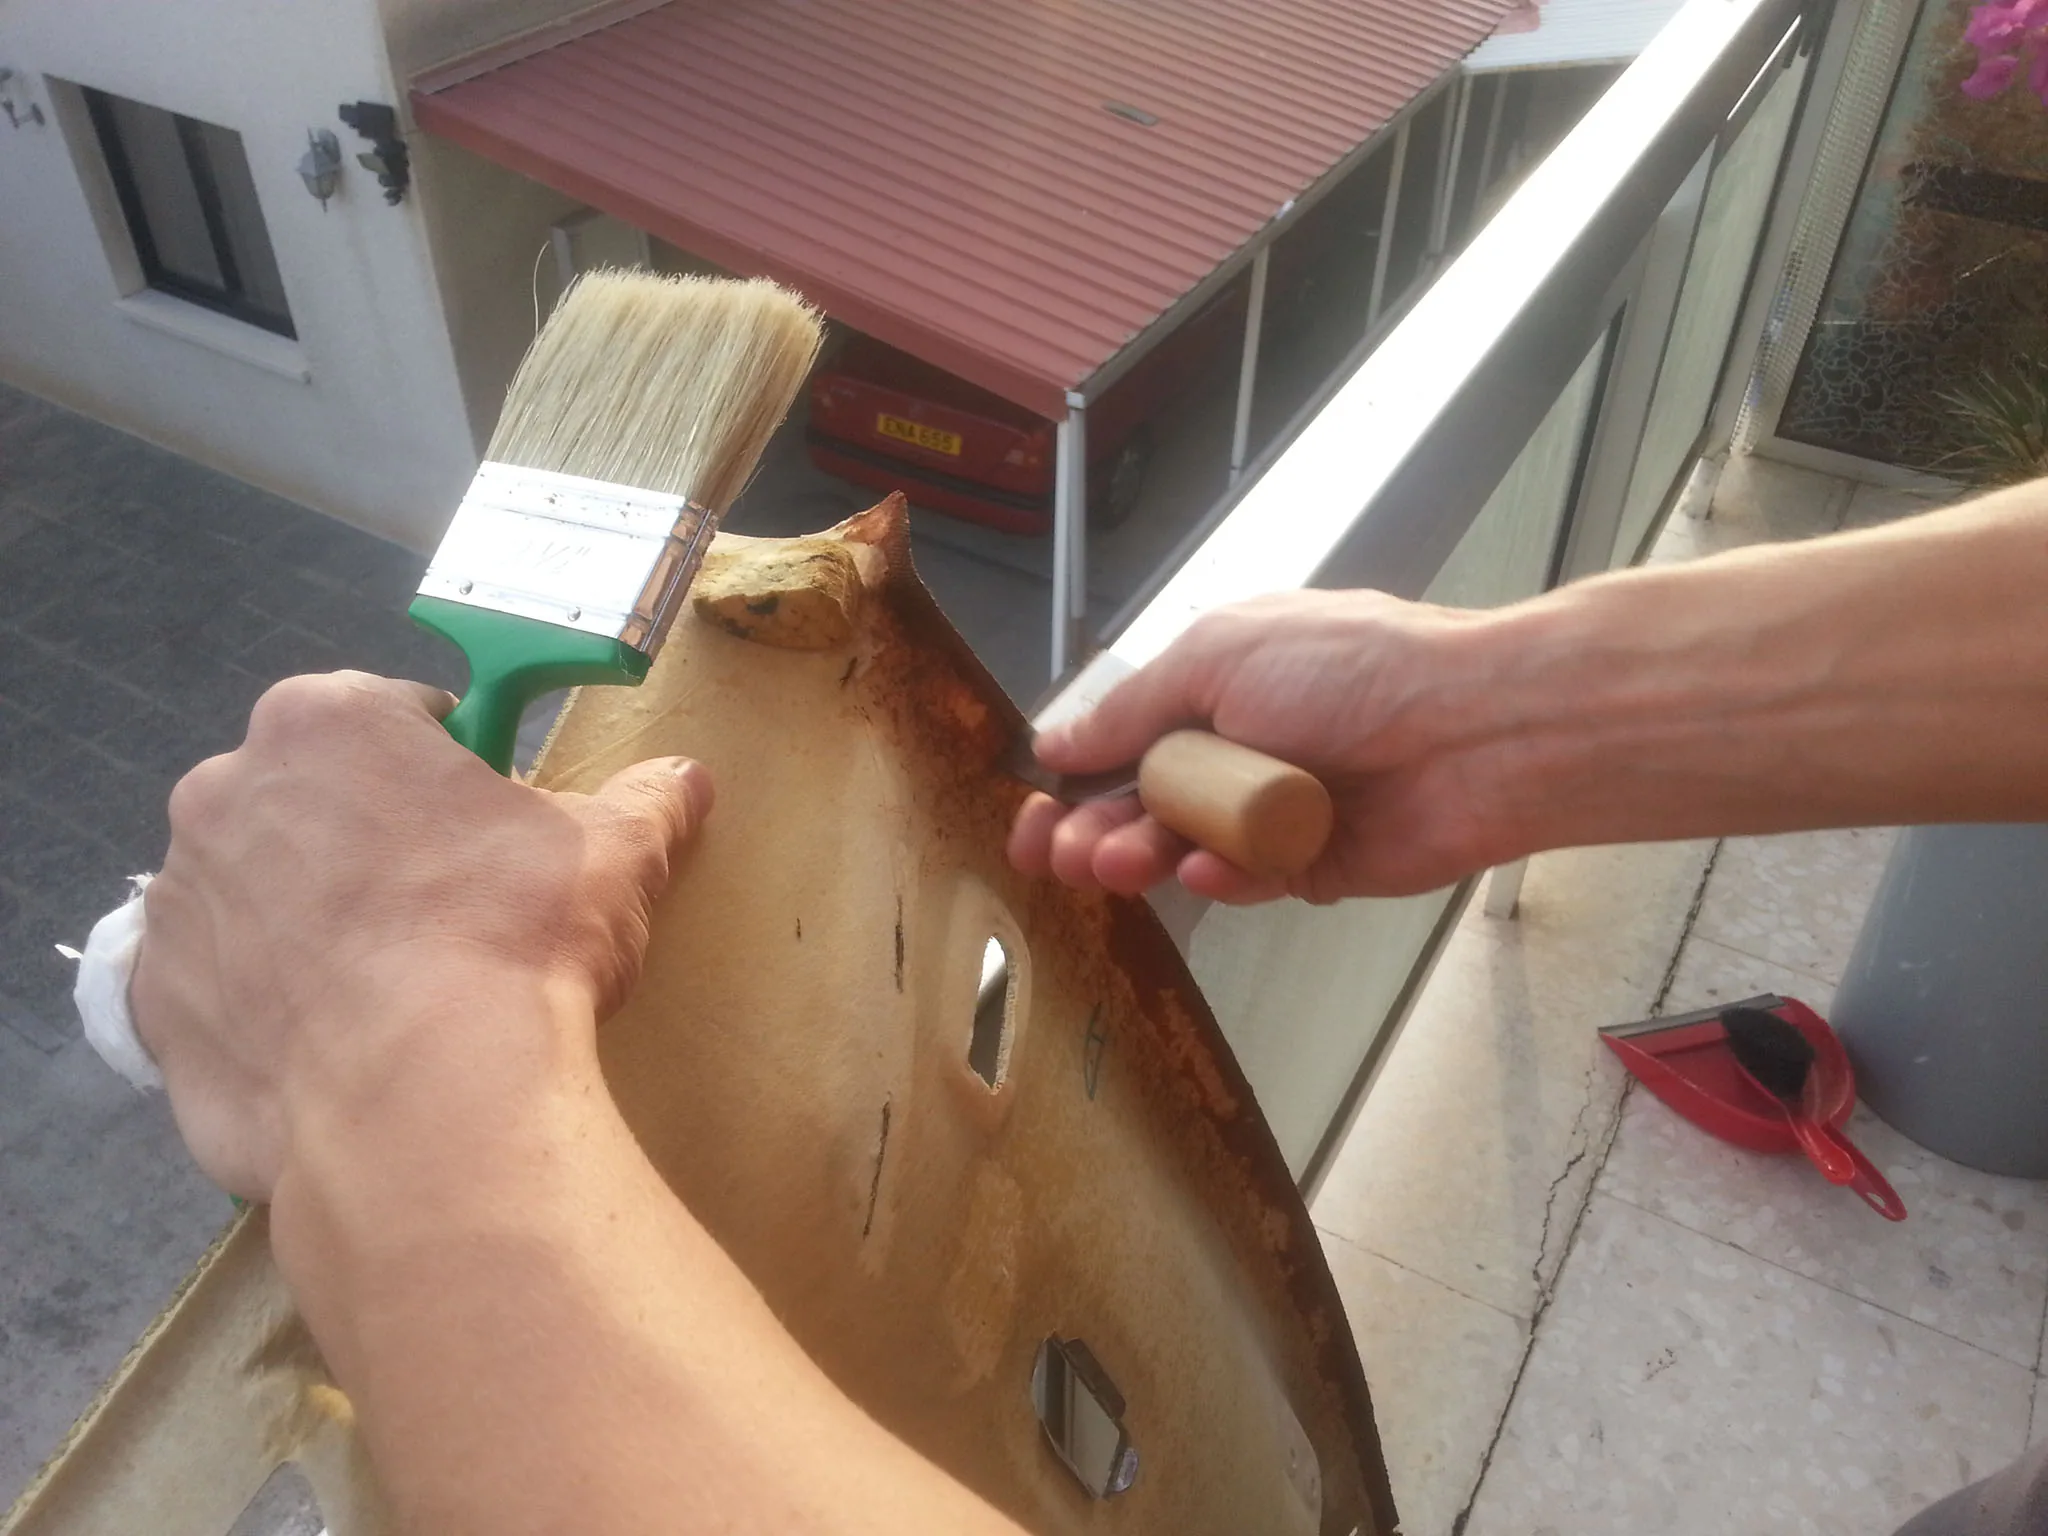
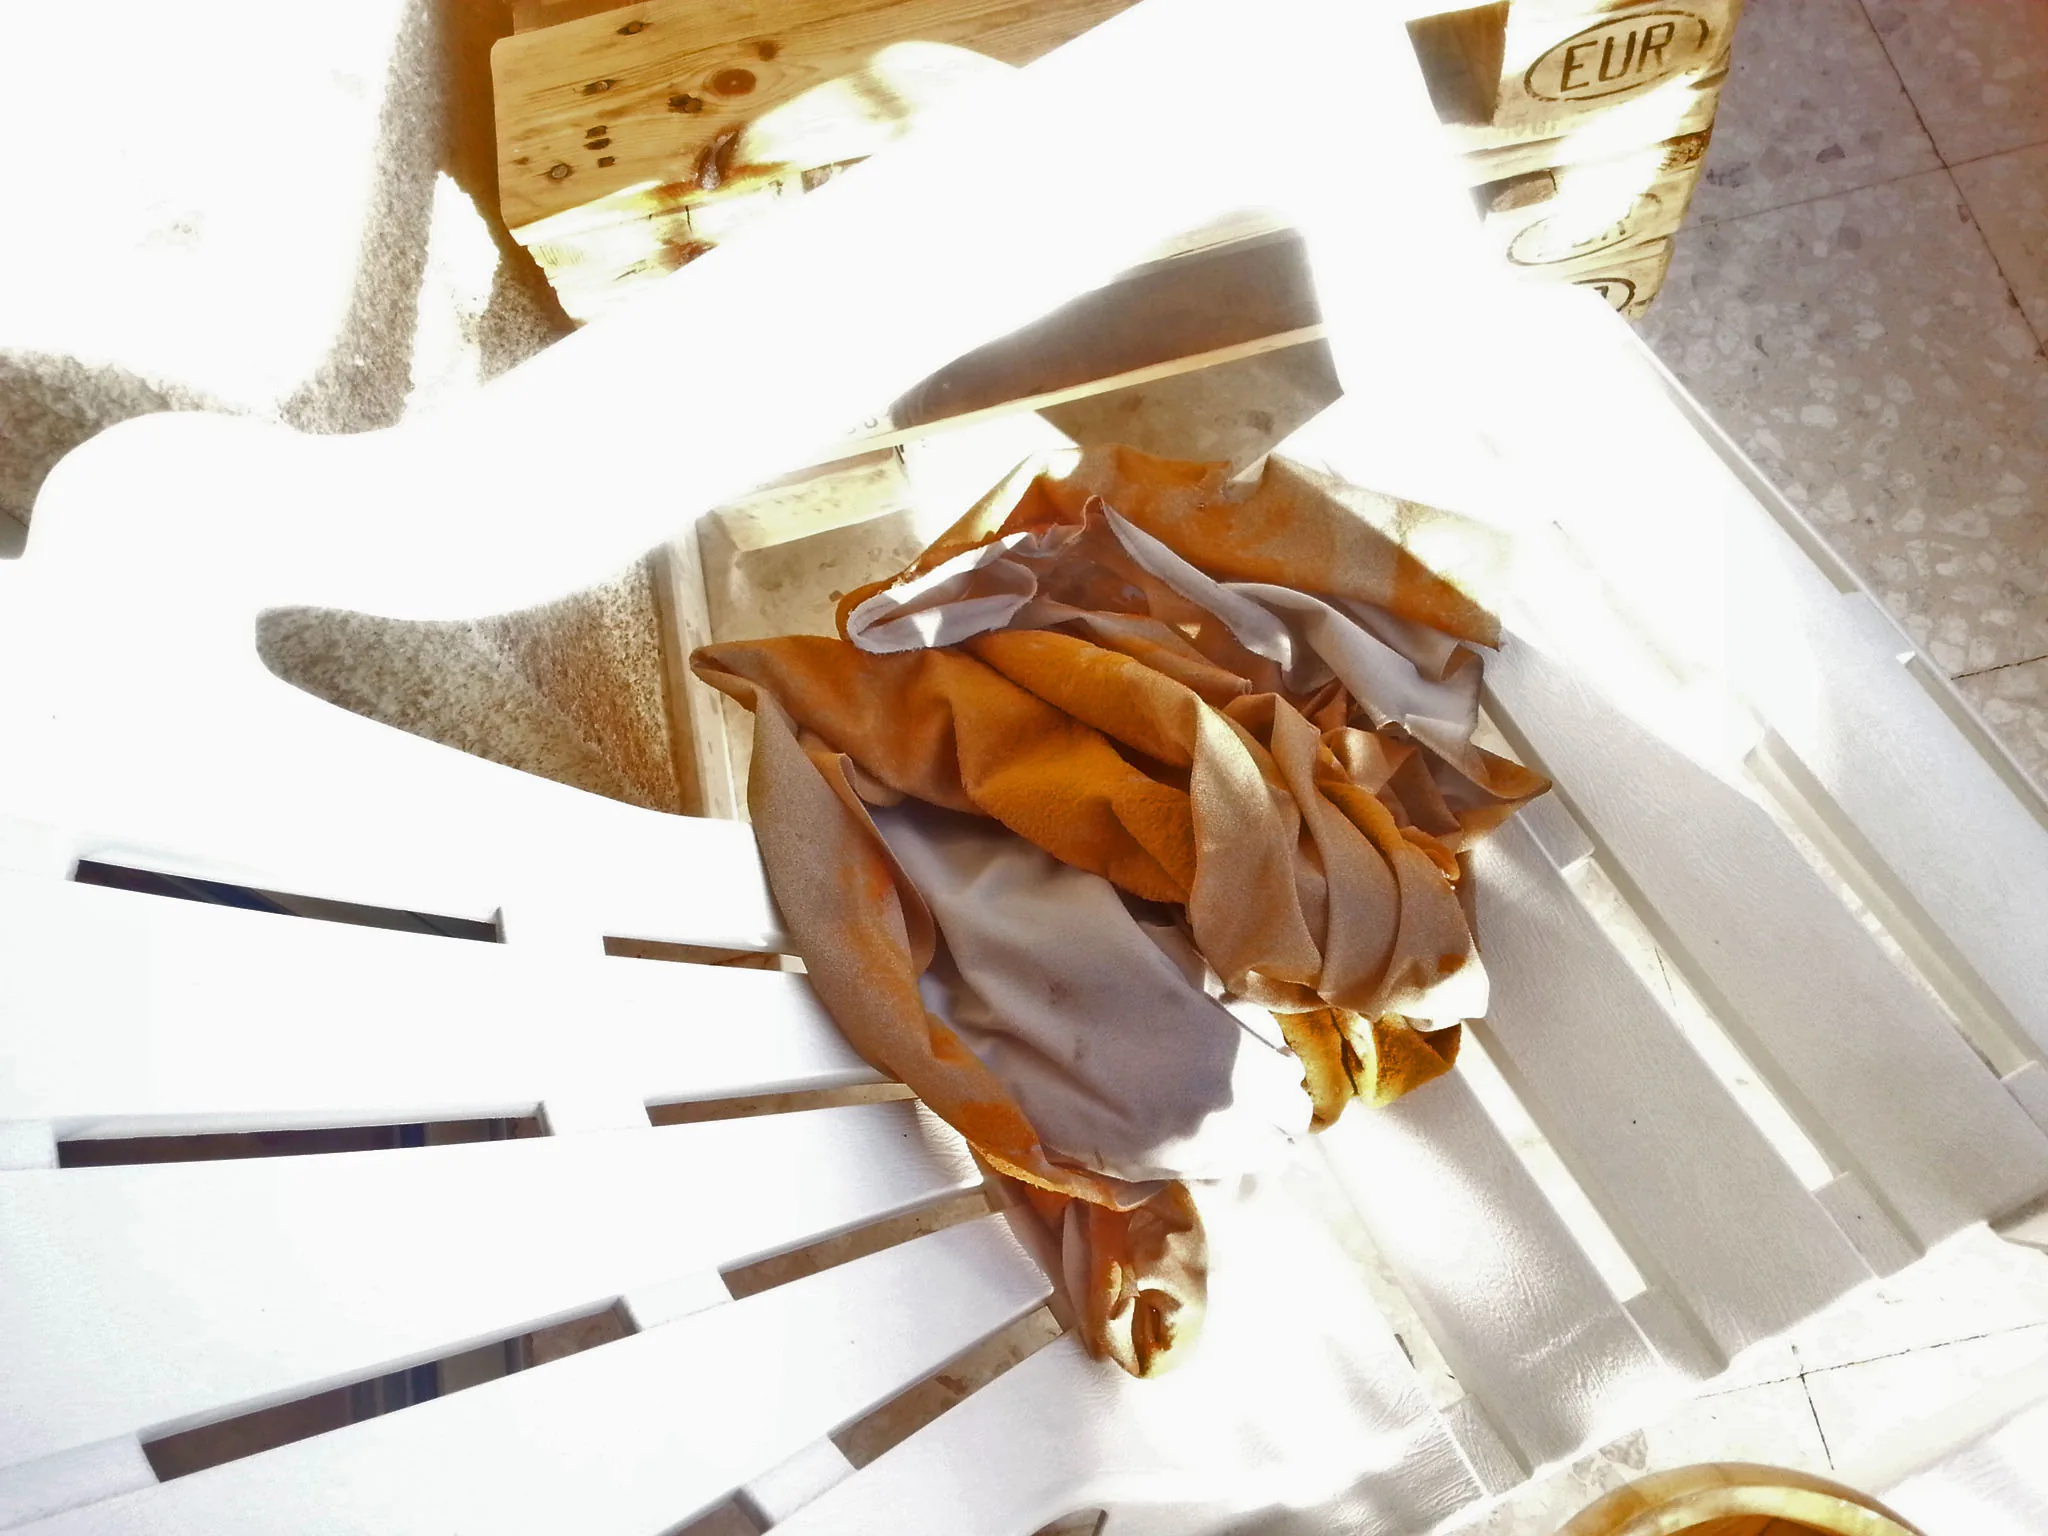
First, you need to remove the old headliner. Next, remove the old covering and any adhesive residue from the headliner. To do this, use a solvent and a stiff sponge. We then recommend sanding the surface with sandpaper to smooth out any unevenness. What’s more, the new covering will adhere better to a rough surface.
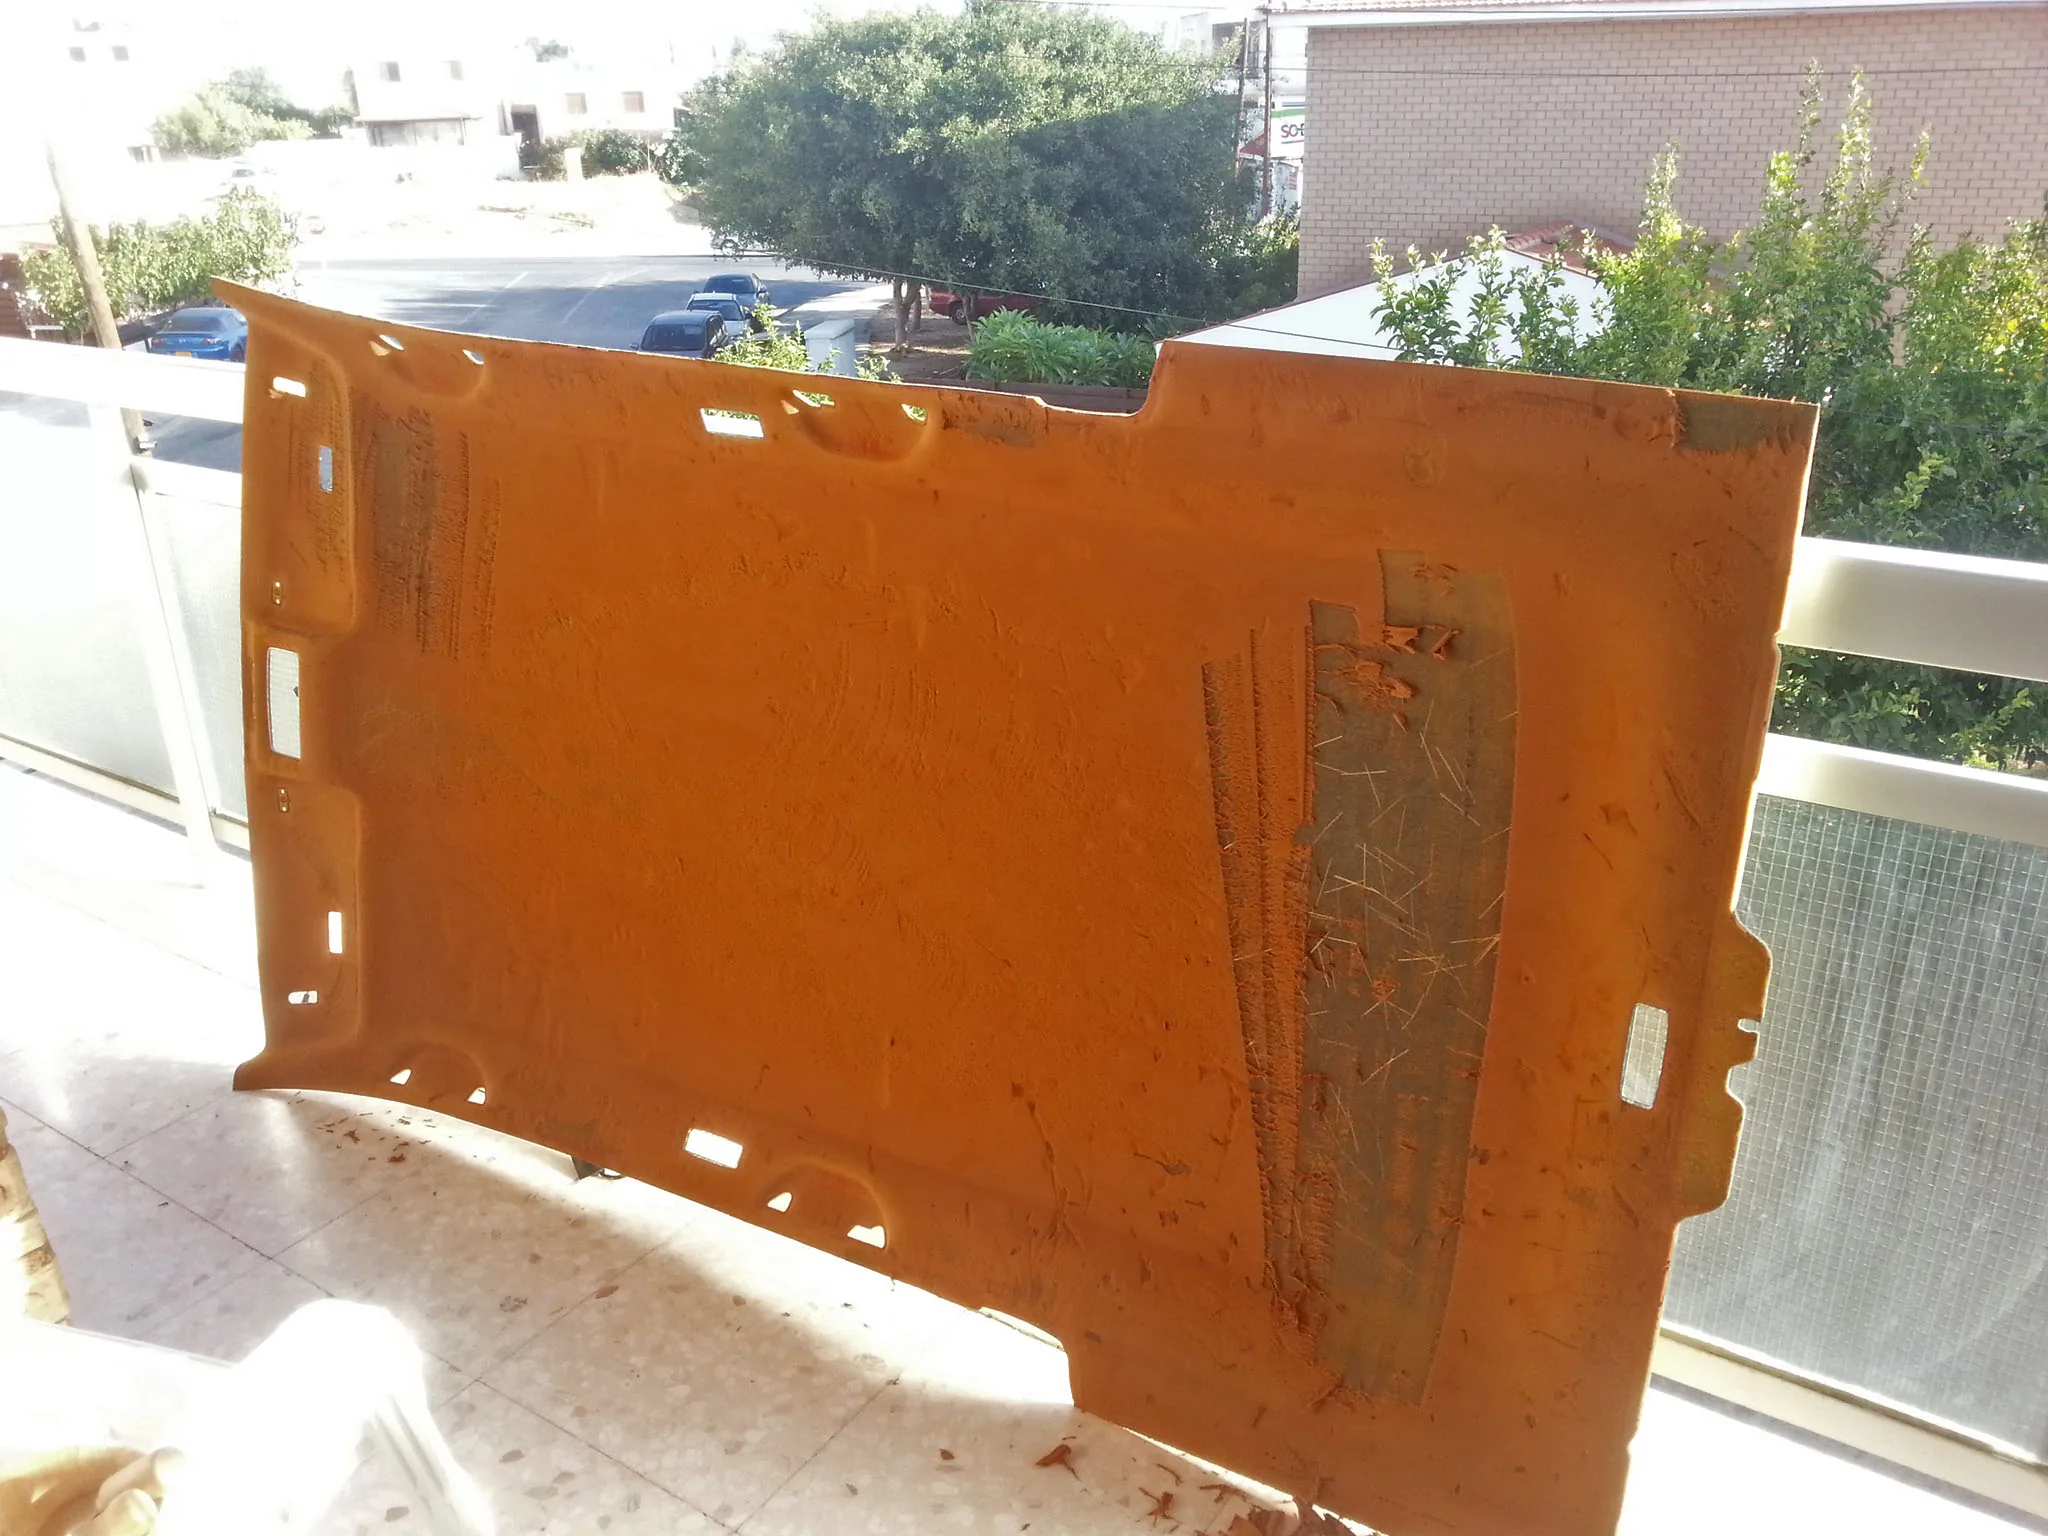
Reupholstering the car ceiling with new material
Essentially, reupholstering the ceiling yourself simply involves sticking the material onto the ceiling frame. It’s no more difficult than putting up wallpaper. However, your main task is to apply the fabric evenly, without a single crease. It is therefore best to carry out this procedure with an assistant, as we did.
Also, don’t forget that any work involving glue must be carried out in a well-ventilated room.
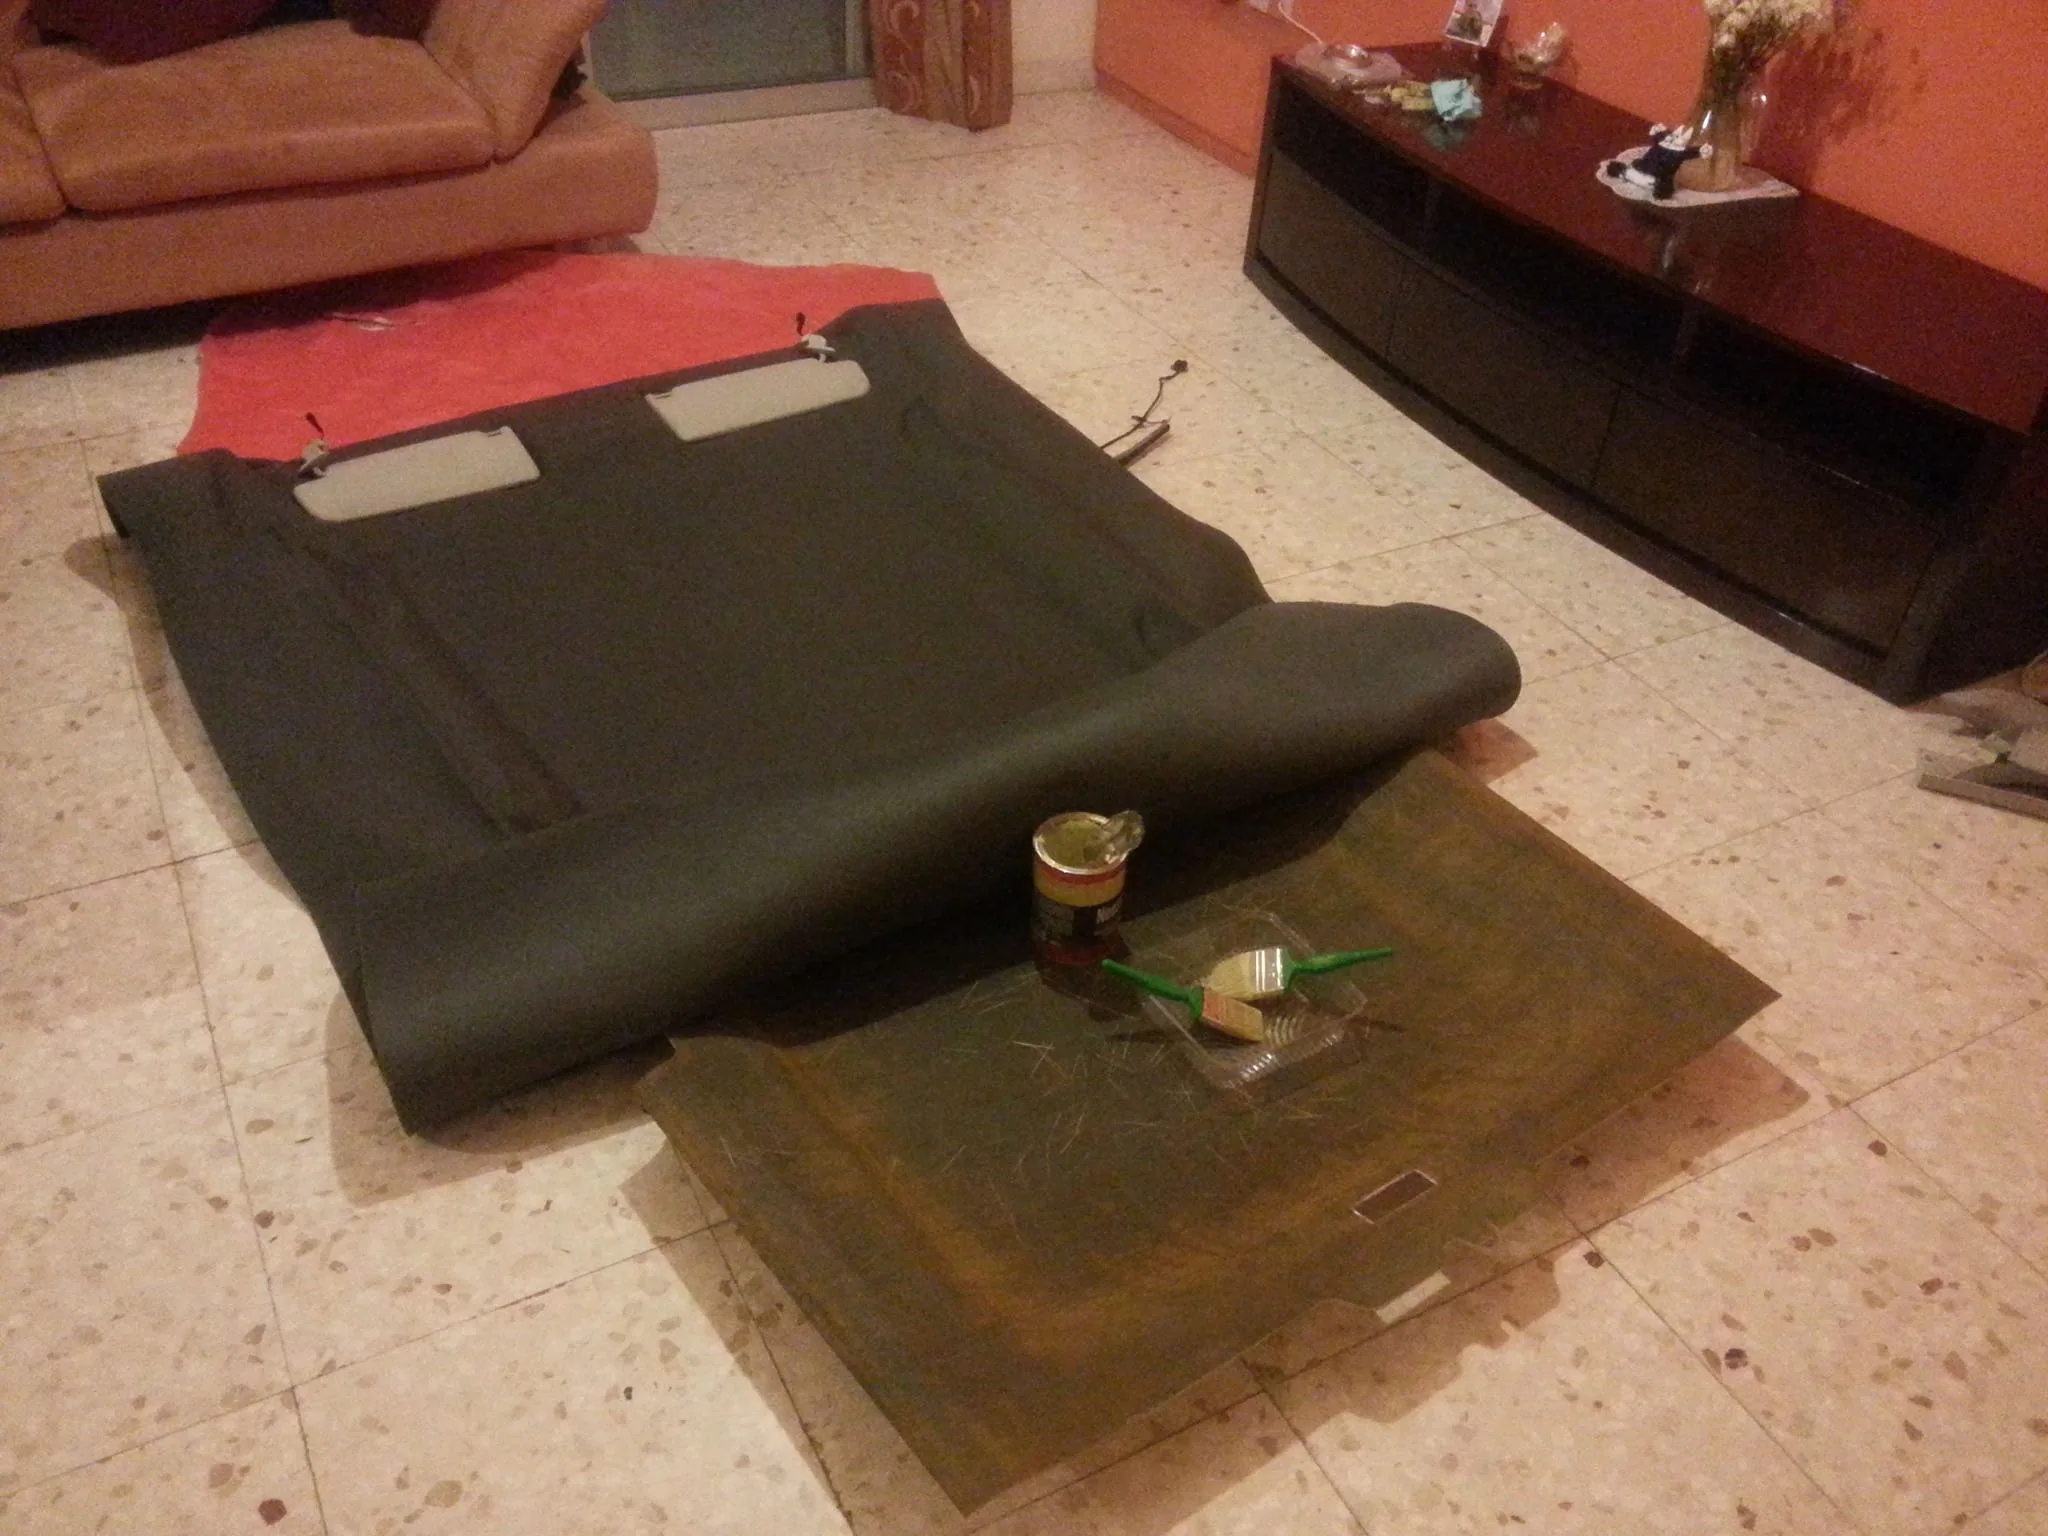 Experienced car mechanics advise starting from the centre of the ceiling: apply a thin strip of adhesive about 10 cm wide, then press the central part of the cut fabric against the strip. Each side of the fabric is attached in the same way.
We applied the fabric from the edge, following the 10 cm rule. The trickiest part turned out to be stretching the material outwards from the glued section, taking into account all the curves of the ceiling.
Remember, if a crease forms anywhere during the process, you can easily lift the upholstery and, smoothing it out carefully, reposition it before the adhesive sets.
Once everything is ready, all that remains is to tuck in the edges of the upholstery fabric and stick them down.
The side panels of the interior are covered in the same way; in fact, this is even much simpler due to their small size and simple shape.
Our mistakes:
We started by applying the material to sections of the roof that were too large, and it was very difficult to smooth them out. Don’t rush this job, as the material may stick with creases or fail to absorb the glue properly. Also, don’t apply too much glue to the base, otherwise it may seep through the material and leave unsightly stains on the outside.
Carefully trim off the excess
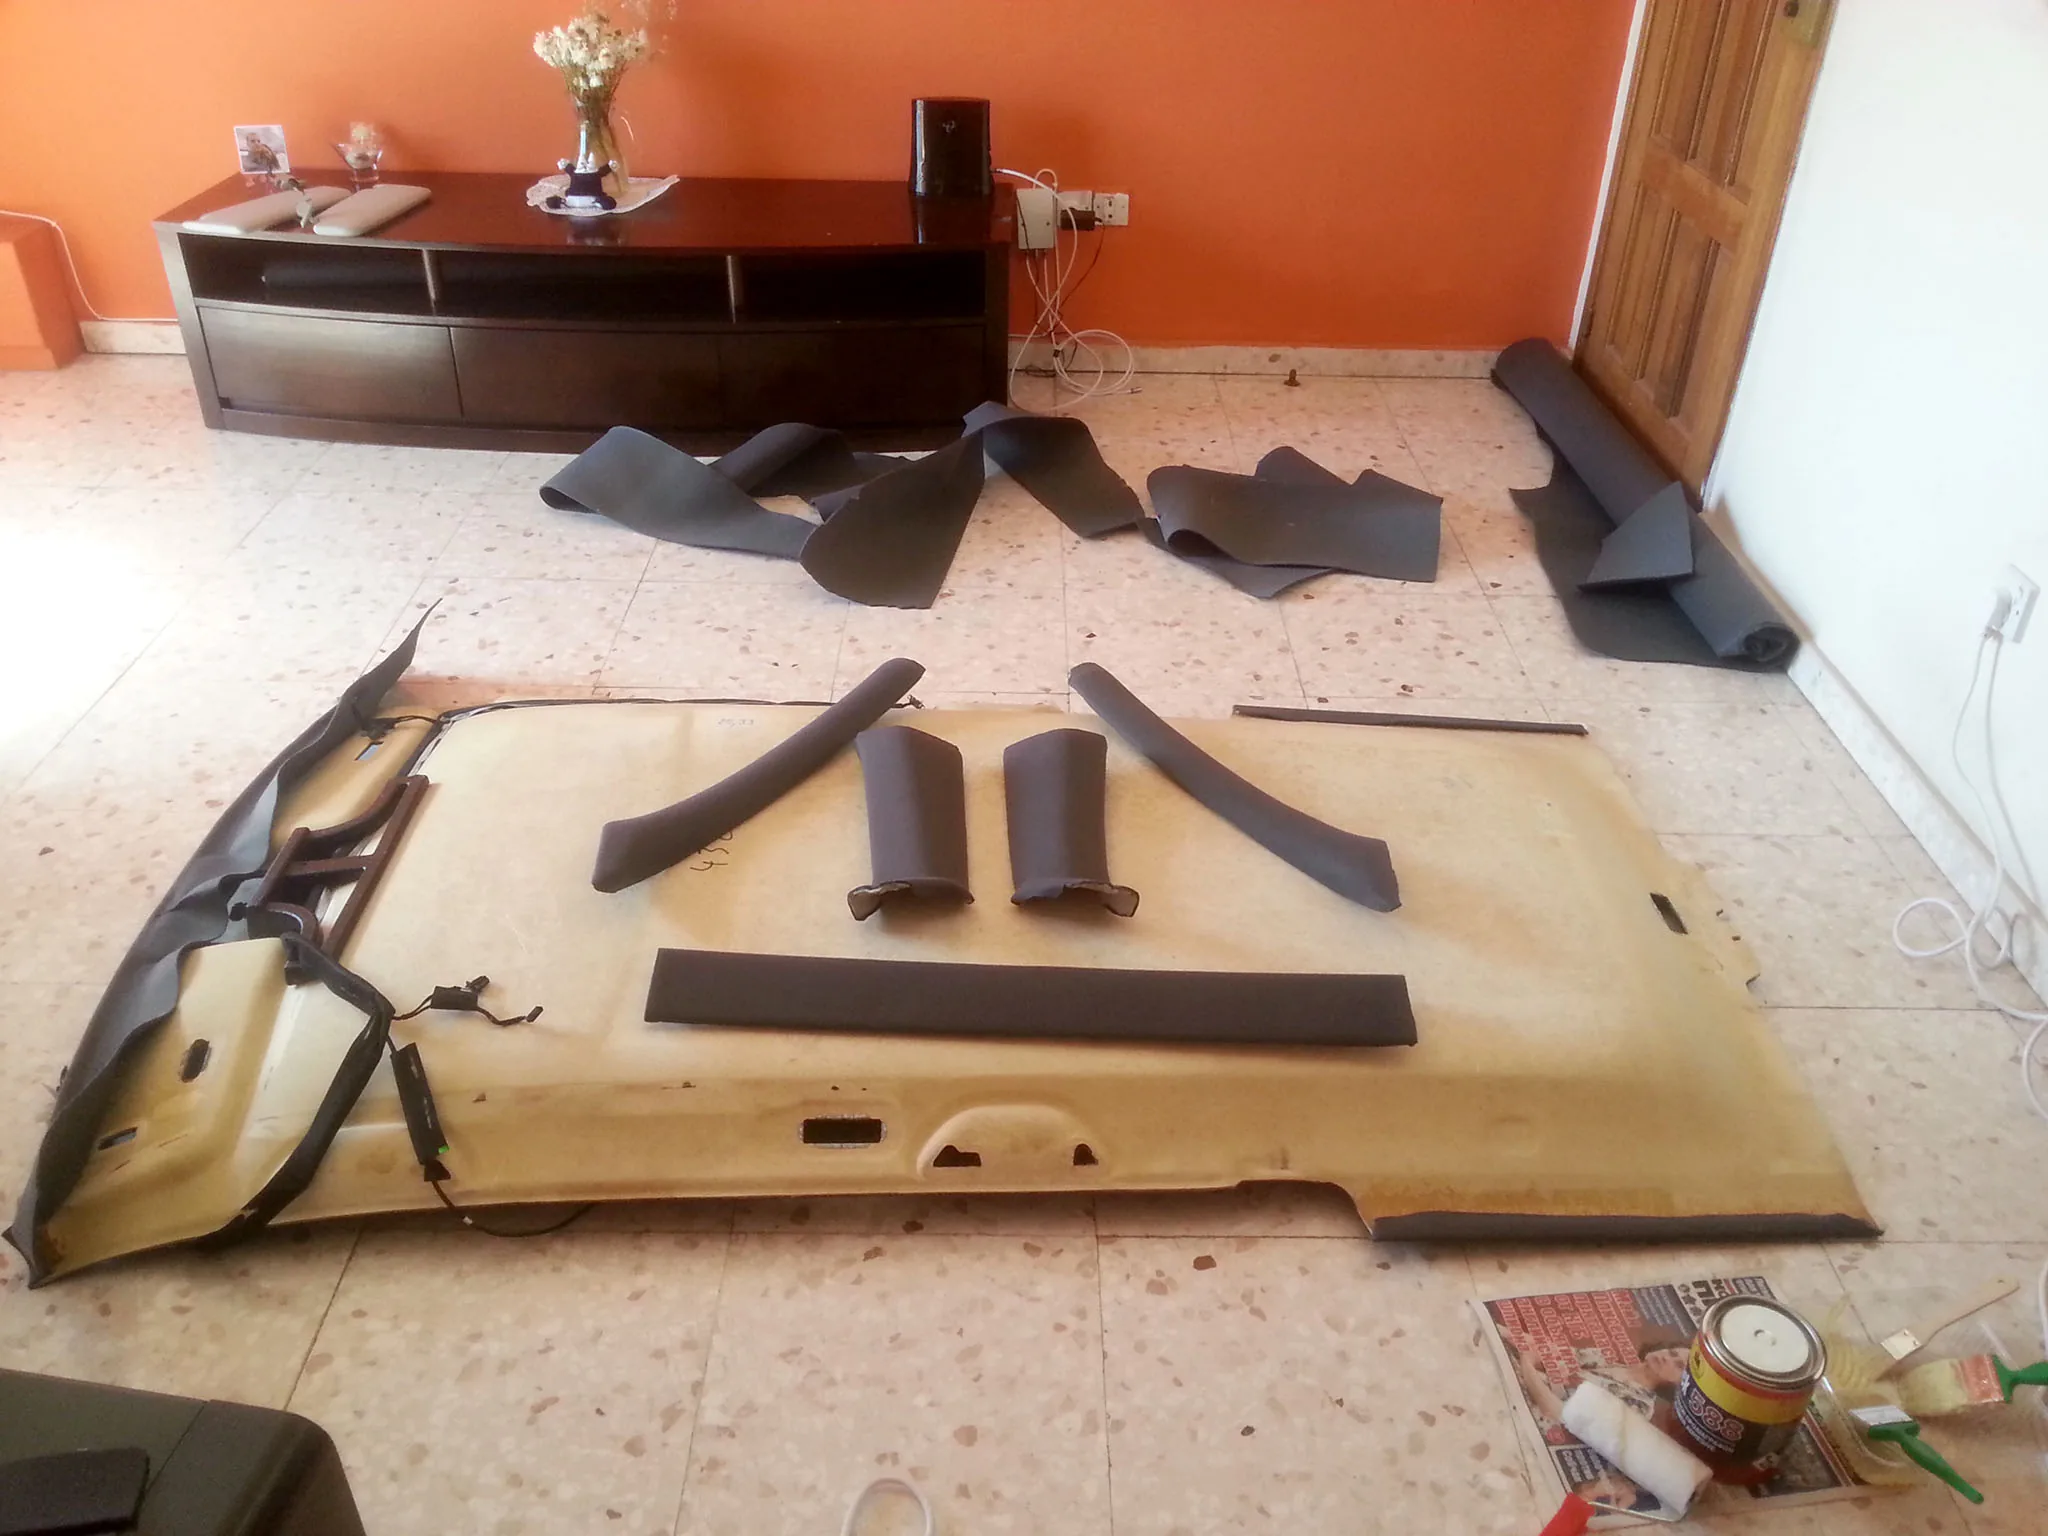 As Michelangelo said, ‘I simply take … and cut away everything that is superfluous.’ At this stage, you can feel a bit like Michelangelo 🙂
Carefully trim off any excess fabric. At this stage, minor imperfections may be visible – these are usually areas where the fabric hasn’t been glued down properly. These can be easily fixed. Gently heating the upholstery with a hairdryer will help smooth out any creases and remove small air bubbles.
Now you need to let the adhesive dry. This usually takes about 12 hours, but for it to dry completely, it’s best to leave it for 24 hours. That way, once the headliner is fitted in the car, you’ll hardly notice any smell of the adhesive.
Once everything has dried, carefully drill small holes for the fixings of the handles, lights and sun visors. After that, proceed to fit the headliner into the passenger compartment.
Our mistakes:
In short, at this stage, they can be summed up by the saying ‘Measure seven times, cut once’. Be careful when working with cutting tools so you don’t have to make another trip to the shop for more material 🙂
Wise people learn from others’ mistakes. We’re sure you’ll take our advice on board and avoid making the same mistakes when fitting the headliner in your car!
Putting the headliner back in place
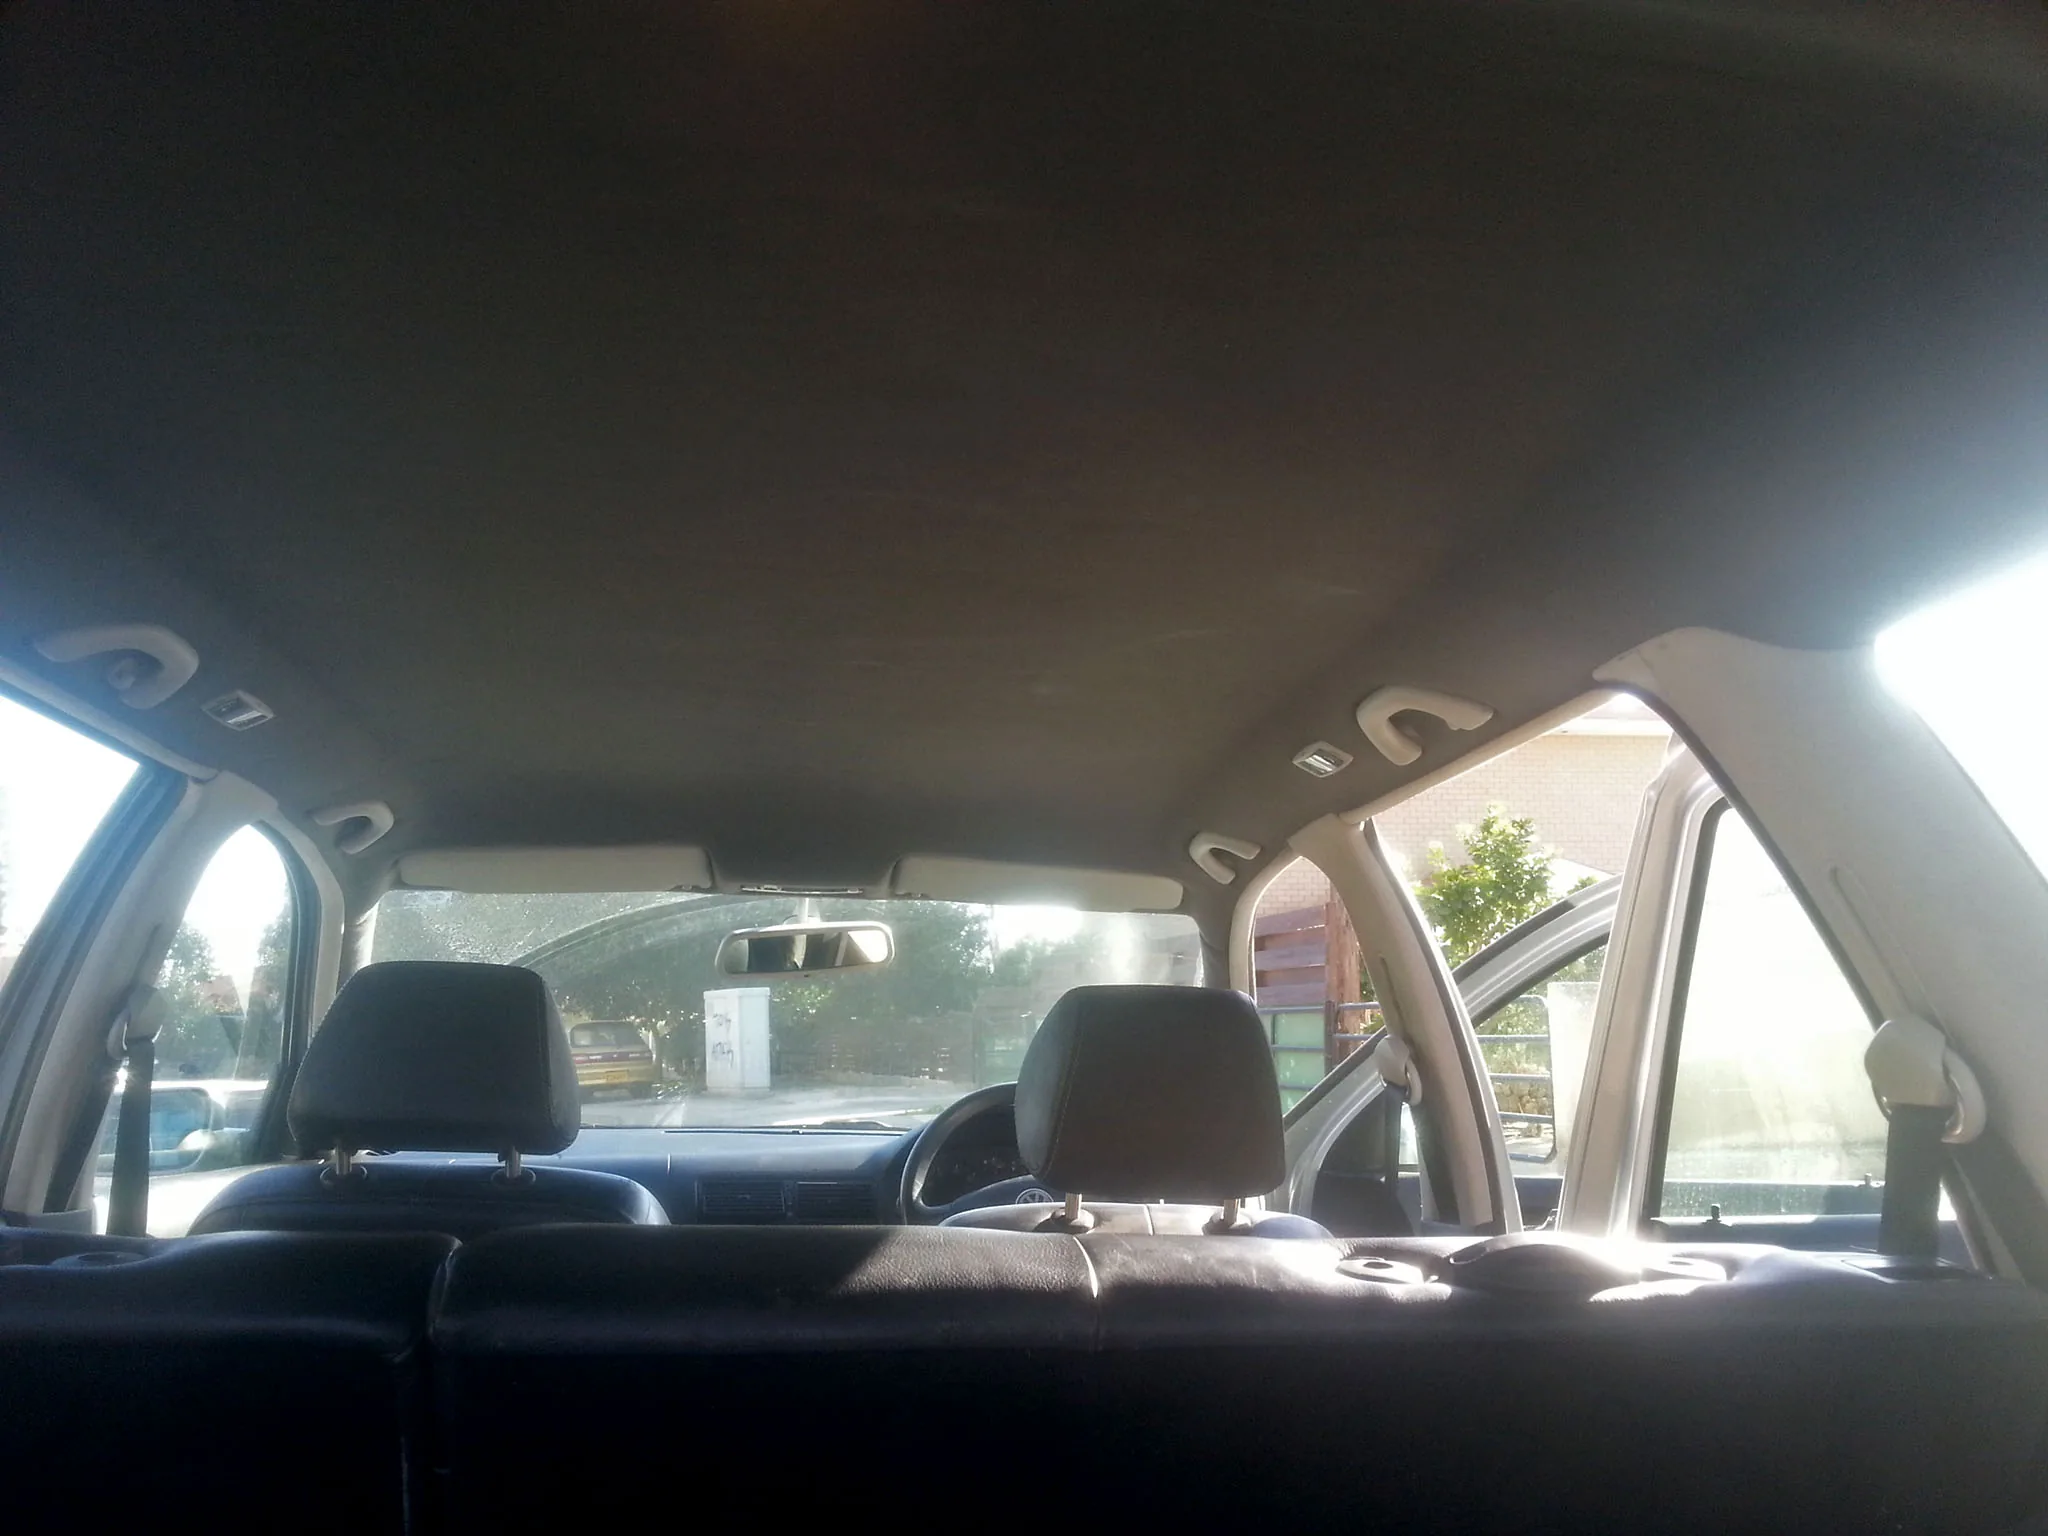 Remember, we left the screws in the cabin? This is where your foresight will pay off!
As almost all car manuals like to point out, reassembly is carried out in the reverse order to dismantling. The same applies to the headliner. The main thing is to take your time, stay relaxed, and go with the Cypriot pace of life – and once the job’s done, you’ll be delighted by your brand-new headliner! And the car feels incredibly spacious when nothing’s hanging down from the ceiling 🙂
If you’re not sure how to spend your weekend in a fun and productive way, why not draw on our experience? A bit of DIY in the garage will not only give your car a fresh new look, but also save you money!